
The Importance of Ice and Water Shield in Protecting Your Roof in Cold Climates
Introduction
When it comes to maintaining the integrity of your roof, especially in cold climates, asphalt shingle roofing services one material stands out as an unsung hero: ice and water shield. This specialized underlayment is crucial for preventing water intrusion caused by ice dams and heavy snowfall, ensuring that your roofing system remains intact. In a world where climate conditions are unpredictable, understanding the importance of ice and water shield can save you from costly repairs and extensive roof damage.
In this article, we will explore the critical role that ice and water shields play in roofing, delving into their benefits, installation processes, maintenance tips, and how they integrate with other roofing components. Let’s dive into the intricacies of protecting your roof with this vital material.
Understanding Ice and Water Shield
What is Ice and Water Shield?
Ice and water shield is a self-adhesive membrane designed to provide waterproofing protection beneath roofing materials. It is typically made from modified bitumen or rubberized asphalt that adheres directly to the roof deck. Its primary purpose is to prevent water penetration due to ice damming or wind-driven rain.
How Does Ice and Water Shield Work?
The functionality of storm damage roof repair ice and water shield lies in its ability to form a continuous barrier against moisture infiltration. When installed correctly along eaves, valleys, and other vulnerable areas of the roof, it effectively seals gaps that may allow water to seep through.
The Role of Ice Dams in Roof Damage
What Are Ice Dams?
Ice dams form when snow melts off heated sections of the roof but refreezes at cooler eaves or overhangs. This creates a blockage that prevents proper drainage, leading to pooling water that can infiltrate shingles and cause leaks.
The Impact of Ice Dams on Roofing Systems
The presence of ice dams can lead to severe structural damage if not addressed promptly. Water trapped behind an ice dam can seep under shingles or through flashing, resulting in leaks that compromise insulation, ceilings, and walls.
Benefits of Using Ice and Water Shield
Enhanced Waterproofing
One significant advantage of using an ice and water shield is its superior waterproofing capabilities. By providing a robust barrier against moisture intrusion, homeowners can rest assured that their roofs are well-protected from harsh winter elements.
Prevention of Mold Growth
Water intrusion often leads to mold growth within attics or ceilings. The use of an ice and water shield minimizes this risk by keeping moisture at bay.
Increased Roof Longevity
By preventing leaks and subsequent damage over time, employing an ice and water shield can significantly extend the lifespan of your roofing materials.
Installation Process for Ice and Water Shield
Choosing the Right Product
Not all ice and water shields are created equal. Homeowners should consult with roofing experts or local roofing companies to select a product best suited for their specific climate conditions and roofing structure.
Preparation Steps Before Installation
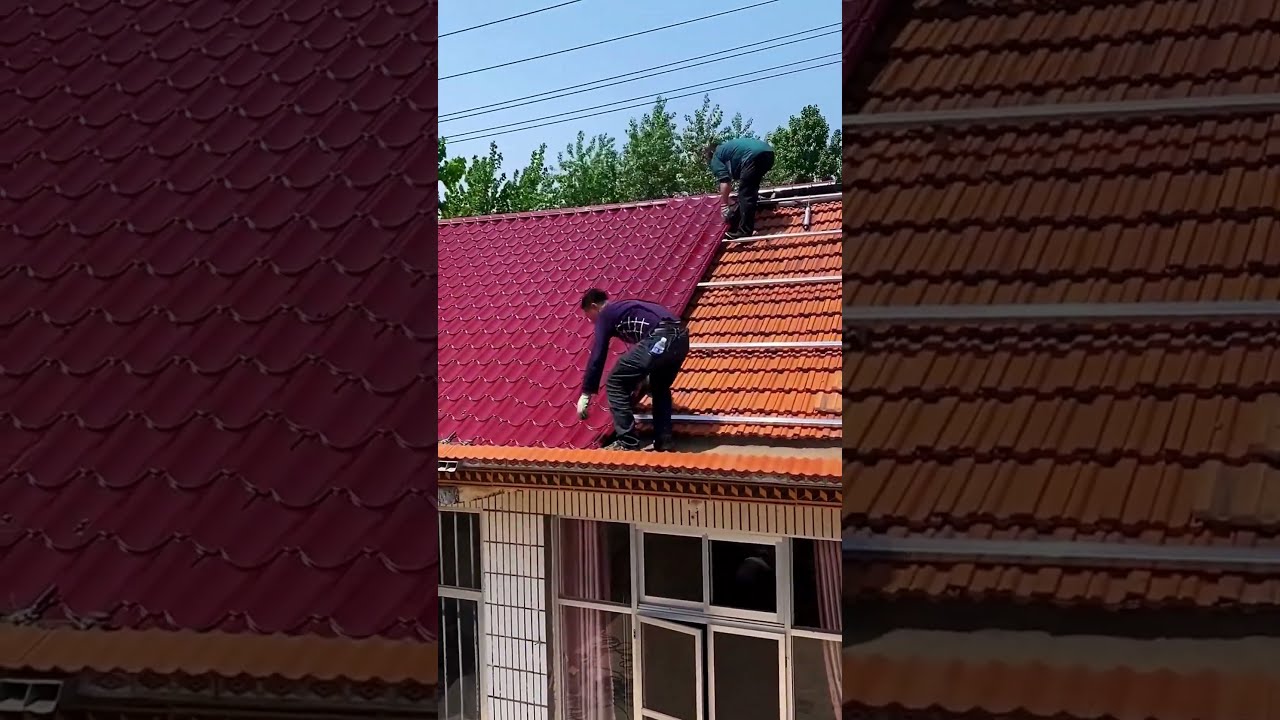
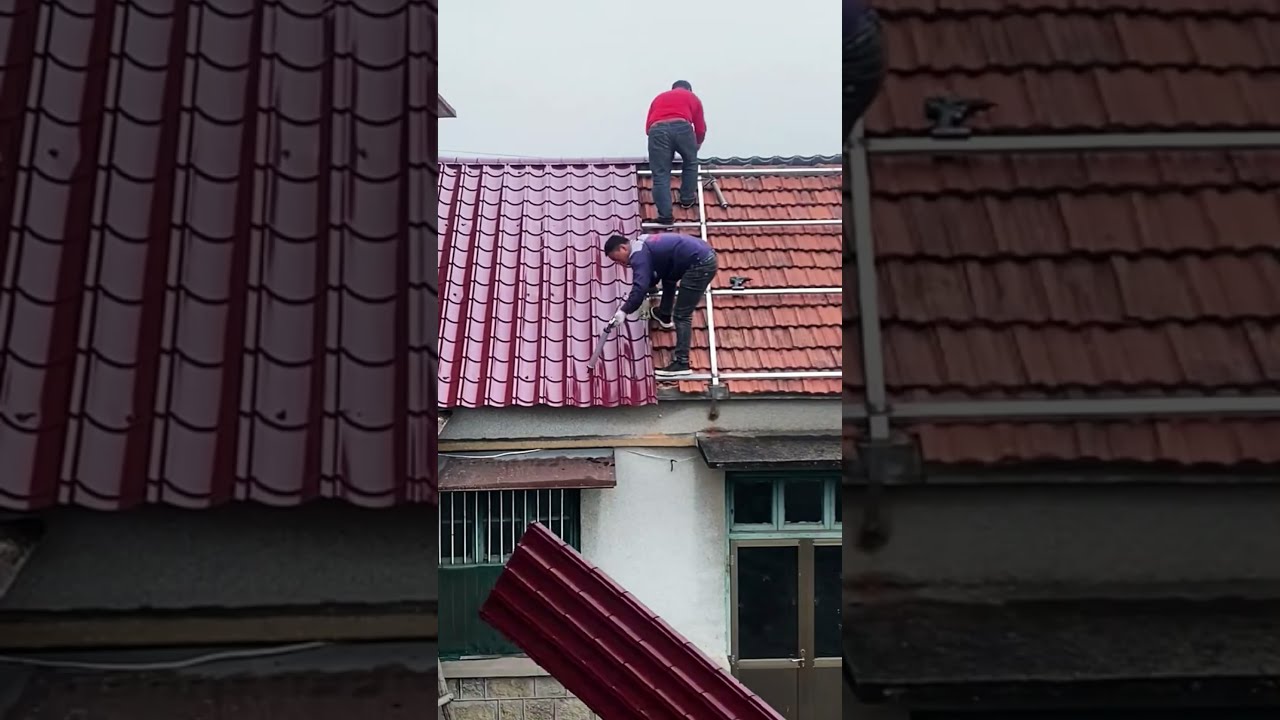
Step-by-Step Installation Guide
Common Mistakes in Ice and Water Shield Installation
Improper Overlap Techniques
Failing to overlap seams properly can create vulnerabilities where moisture can enter.
Neglecting Edge Protection
Not extending the shield sufficiently beyond eaves increases risk for leaks during heavy rainfall or thaw cycles.
Maintenance Tips for Roofs with Ice & Water Shield
Regular Inspections After Storms
Conduct annual inspections after winter storms or heavy rains to assess any potential damage or leaks.
Gutter Maintenance is Key
Keep gutters clear from debris so they can function effectively—this helps divert rainwater away from your roof structure.
Integrating Ice & Water Shield with Other Roofing Components
Flashing Repair Importance
Flashing plays a crucial role in directing water away from vulnerable areas like chimneys or vents; thus it should be inspected alongside ice shields during maintenance checks.
Attic Ventilation Considerations
Proper attic ventilation helps regulate temperatures beneath your roof which further reduces chances for ice dams forming on your rooftop surfaces.
Cost Implications: Is It Worth It?
Analyzing Initial Investment vs Long-Term Savings
While installing an ice/water shield adds initial costs during roof installation (typically around $0.50-$1 per square foot), gutter and soffit replacement consider these savings:
- Reduced repair costs associated with leaks
- Increased lifespan for overall roofing structure
- Potential insurance premiums discounts due low-risk profile
FAQs about Ice & Water Shields
1. What is the ideal thickness for an ice dam protection membrane?
Typically ranges from 30 mils (0.030 inches) thick up to 60 mils (0.060 inches). Thicker membranes offer better durability but may also increase project costs.
2. Can I install an ice/water shield myself?
While DIY installation is possible if you're handy; hiring certified roofing professionals ensures proper application techniques are followed—maximizing effectiveness!
3. How does weather affect installation timing?
Cold temperatures can reduce adhesive effectiveness; thus it's recommended installations occur when ambient temperatures exceed 40°F (4°C).
4.Can I use traditional felt paper instead instead?
Traditional felt paper lacks waterproofing properties essential during extreme cold—it’s not recommended as a substitute for an effective barrier against snowmelt!
5.What happens if my contractor doesn’t install it properly?
If improperly installed by unqualified personnel; warranty claims may be invalidated—always verify credentials before hiring!
6.Is there any maintenance required once installed?
Routine inspections are essential—especially post-storms—to ensure no gaps have formed over time allowing moisture intrusion!
Conclusion
In summary, understanding "The Importance of Ice and Water Shield in Protecting Your Roof in Cold Climates" cannot be overstated—it’s an essential component for safeguarding residential roofs against harsh weather conditions typical in colder regions! By investing wisely into protective measures like these shields coupled with regular maintenance practices; homeowners gain peace-of-mind knowing their investment remains safeguarded long-term! Always consult trusted local roofing companies when considering upgrades or new installations—after all being informed empowers you!