How to Prepare for a Flooring Installation Service: A Homeowner’s Checklist

A well-run flooring installation feels like a choreographed day: materials arrive on time, rooms are ready, and the crew moves with purpose. The opposite is a slog, with last‑minute furniture scrambles, adhesive delays, and unexpected subfloor problems that cost both time and money. The difference usually comes down to preparation. After years of walking projects from estimate to final sweep, I can tell you that good prep saves roughly a day on an average residential job and shields you from a surprising number of headaches.
This guide walks you through the practical steps to get your home ready for a flooring installation service, whether you’re working with a flooring company in your neighborhood or a flooring contractor in a busy metro like Charlotte. It also covers the subtler decisions that matter: when to repaint, how to stage furniture, and what to do with pets. Consider it a homeowner’s checklist, grounded in experience rather than theory.
Clarify the Scope Before Anything Else
Preparation starts with clear scope. The most common snafu is a small mismatch between what you think is included and what your installer plans to do. That mismatch can snowball on install day. Go over the following with your flooring company before materials are ordered.
- Where the new flooring begins and ends, including closets, pantries, and transitions between rooms. If the laundry room has a raised lip or the hallway narrows, note it.
- How baseboards, quarter round, or shoe molding will be handled. Some homeowners prefer to reuse their existing trim. Others want fresh profiles and paint.
- Whether the crew will move furniture, appliances, and toilets, or whether you need to clear the space. If they will move appliances, confirm gas and water shutoffs are safe and accessible.
- Subfloor responsibilities. Light squeaks can be addressed with screws during install, but rot, high moisture, or structural deflection require staging and possibly a different crew. Agree on thresholds for what counts as standard prep versus repair.
- Disposal and recycling. Ask if the flooring company hauls away old carpet, pad, tack strips, and baseboards, and whether there is a fee. For hardwood, some clients choose to keep scraps for future repairs.
A reputable flooring installation service will capture these decisions in writing, ideally with line items and a timeline. If you are hiring a flooring contractor in Charlotte, local crews often coordinate multiple trades on tight schedules due to high demand. Detailed scope prevents bottlenecks, especially in neighborhoods with strict HOA rules or limited parking.
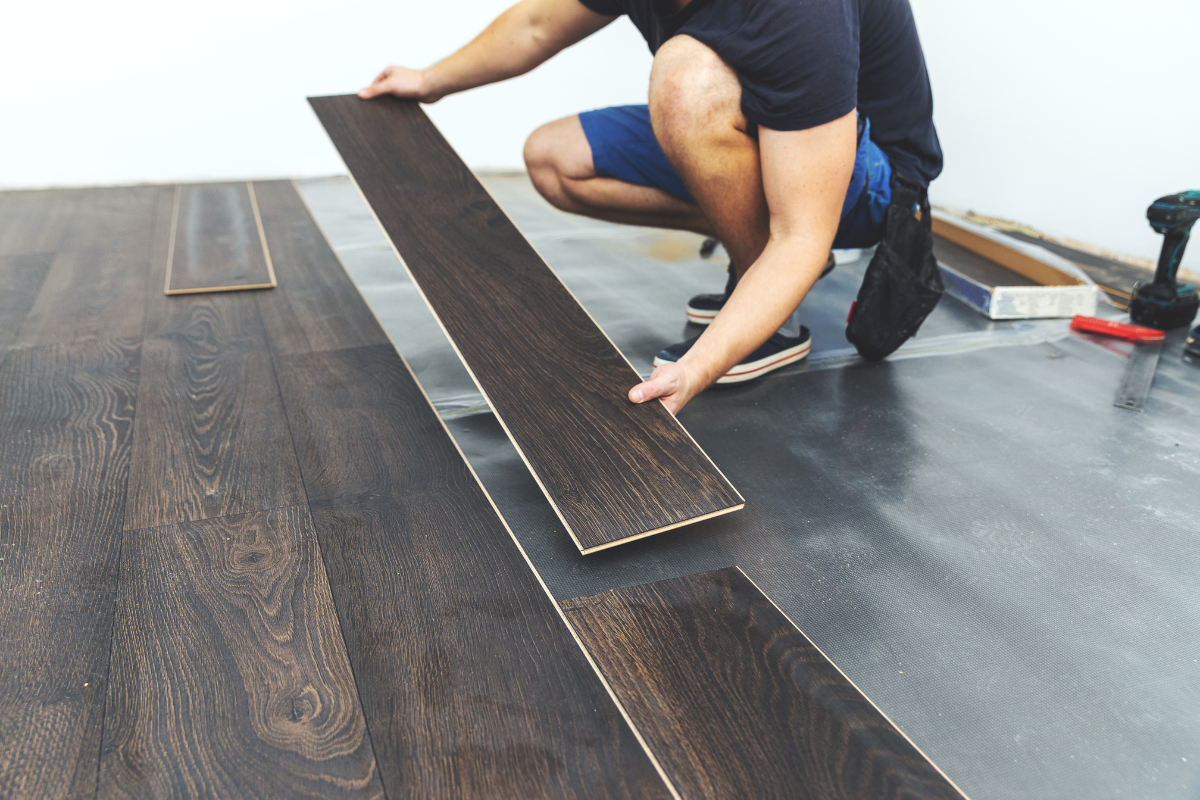
Confirm the Material Choices and Quantities
The material itself sets the pace for everything else. Vinyl plank wants a very flat substrate, prefinished hardwood demands careful climate control, and certain tile formats require a rigid subfloor and specific mortars. Before your installation date is locked, nail down the following with your flooring company.
Product specifics. Exact SKU, wear layer or hardness rating, core type for vinyl or laminate, finish sheen for hardwood, grout joint size for tile. Small changes ripple through adhesives and prep steps.
Underlayment. Sound‑deadening pads, vapor barriers, cork, or foam are not interchangeable. A basement slab in Charlotte, which sees summer humidity, calls for a vapor retarder under certain floating floors. Plank floors above crawlspaces often benefit from an underlayment that includes a moisture barrier.
Transitions and trims. Order reducers, stair nosings, T‑moldings, and end caps at the same time as the floor. I’ve seen projects slip a week because the stair nosing was backordered.
Wastage. A good rule of thumb is 7 to 10 percent extra for straightforward rooms and 12 to 15 percent for herringbone, chevron, diagonal layouts, or rooms with many cutouts. Tight patterns consume more offcuts.
Lead times. Custom stains, exotic species, and large‑format tile can run 4 to 8 weeks. If your schedule is fixed, ask your flooring company to recommend in‑stock alternatives.
If you are depending on flooring repair in one area and full replacement in another, confirm that stain and sheen will harmonize. Prefinished hardwood can be hard to match. Sometimes the clever move is to use a saddle or threshold as a clean visual break rather than chase a perfect match.
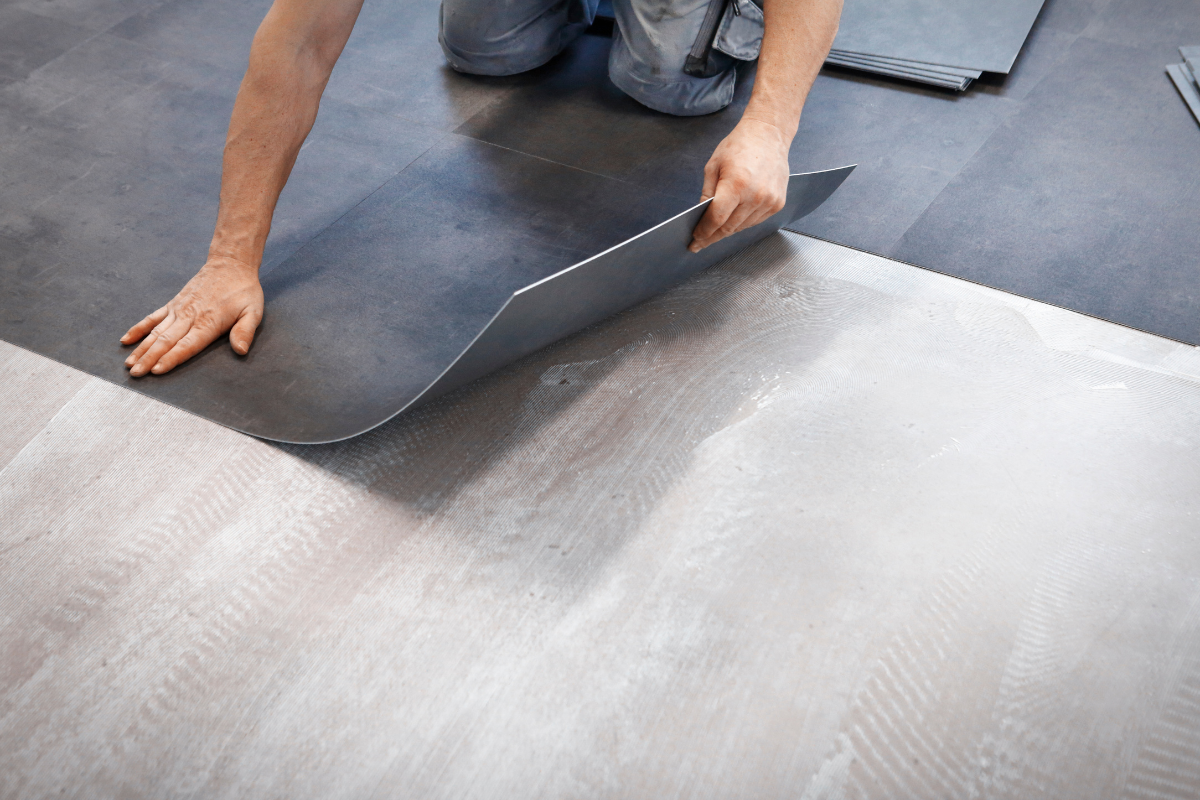
Evaluate and Prepare the Subfloor
Subfloor condition determines whether your new floor feels solid and looks seamless. Bad prep telegraphs through almost any material. Spend an hour assessing, and you can save a day later.
Moisture. Concrete needs to be dry within the range the product allows. Many adhesives specify a relative humidity reading per ASTM F2170. In practice, installers often use a surface moisture meter as a quick check. If levels are borderline, a moisture mitigation primer might be required. Over a crawlspace, ensure the vapor barrier is intact and vents are not dumping humid air under the house. In Charlotte summers, this is a common source of cupping for site‑finished hardwoods and some engineered planks.
Flatness. Floating floors usually want no more than 3/16 inch deviation over 10 feet. Tile wants even stricter tolerance. High spots are ground down, low spots are filled with patch or self‑leveling compound. If your home has older framing with a slight sag in the middle of a long room, plan for patching. It is cheaper to address before the crew arrives than to decide on the fly.
Fastening and squeaks. If you add screws through a wood subfloor into the joists, it’s easier now than later. Squeaks typically come from friction between subfloor and joist or between layers of subfloor. A box of structural screws and a chalk line can work wonders.
Existing materials. Old adhesive, painted floors, or particleboard can complicate bonding. Your flooring contractor should advise whether to remove, encapsulate, or overlay. For tile, look at deflection. Many large‑format tiles require a layer of cement board or an uncoupling membrane.
If your installer offers a subfloor check during the measure, take it. Even a few notes and photos help you plan for levelling and moisture control. For severe issues, a dedicated flooring repair phase may need to precede the main installation.
Make a Room‑by‑Room Plan for Clearing and Staging
Empty rooms are always easier to work in, but that’s not always practical. I often see two tactics succeed in real homes.
Phased clearing. Move everything from half the house into the other half, install the first area, then swap. This works best with floating floors or prefinished materials that can be walked on the same day. It requires clear walkways and an agreement about how thresholds are handled mid‑project.
Offsite staging. Rent a small storage unit for bulky items like sectionals, hutches, and bookshelves. It frees up rooms and reduces the risk of dings on expensive furniture. A 10x10 unit can hold the contents of a living room and primary bedroom with room to spare.
No matter which approach you choose, think vertically. Clear walls of art and mirrors, remove drapes that skim the floor, and pull any wall‑mounted electronics with low slack in cords. Tall bookcases should be emptied and moved, not slid. If your flooring company offers furniture moving, ask about limits. Some crews will not move pianos, aquariums, or custom built‑ins. Appliances with gas or water lines must be disconnected safely. If your fridge has a brittle plastic water line, replace it with braided stainless beforehand to avoid a surprise leak.
Protect What Stays
Your home will become a worksite for a few days. Dust, foot traffic, and tools will pass through. Simple protections go a long way.
Entry paths. Ram board or heavy paper taped down from the entry to the work area keeps grit off finished floors. The tape itself can mar certain finishes, so choose low‑tack and test in a closet.
HVAC and dust control. Close supply vents in active rooms if you can, and swap your furnace filter after the project. For heavy demo or sanding, ask the crew about dust containment. A few rolls of plastic and a zipper doorway can keep dust from migrating.
Cabinets and built‑ins. For flooring around kitchen islands or vanities, use drop cloths on low shelves and toe kicks. Tile demo throws chips farther than you expect.
Pets. Even calm pets dislike compressors and saws. Arrange for them to stay with friends or in a closed part of the house that the crew never enters. A dog gate is not enough if the team is hauling planks through tight hallways.
Overhead fixtures. Low‑hanging lights and fans have a way of attracting box corners. If a fixture hangs below normal head height, consider removing it temporarily.
Plan Utilities and Site Access
An efficient crew needs electricity, lighting, and a clean path. On busy streets, especially in areas like NoDa or South End in Charlotte, parking and building access can slow a job.
Power. Most saws and vacuums run on standard 15‑amp circuits, but extension cord runs can trip breakers. Identify a couple of robust outlets. For tile, a wet saw might be staged outside with a GFCI outlet.
Water. If thinset, self‑leveler, or patch is in play, the crew will need water and a spot to rinse buckets. A hose bib near a patio makes life easier than a powder room sink.
Outdoor work zone. Set aside a flat space for cutting and staging, protected from rain and sun. Even in a garage, better lighting and a compact layout save time.
Parking and HOA. If you live in a condo or townhome with a HOA, secure any needed permits for dumpsters, elevator pads, or extended work hours. Confirm elevator reservations if materials are heavy. A flooring installation service in Charlotte will be familiar with many buildings downtown, but do not assume they know your HOA’s quirks.
Neighbors. Noise pedrettyctandf.com flooring repair starts early. A quick note to neighbors can smooth the week, especially for condo hallways that echo every hammer tap.
Decide the Order of Other Projects
Flooring rarely exists in a vacuum. Paint, cabinets, trim, and countertops all jockey for their place in the sequence. The right order reduces touching up and rework.
Painting. If you plan to repaint walls and ceilings, it is usually cleaner to paint before the floor goes in, then touch up baseboards and any dings after. You avoid paint splatter on new floors and can freely move ladders. If the flooring company is installing new baseboards, schedule the final coat after they are caulked in.
Cabinetry and built‑ins. For kitchen remodels, most floating floors should not run under heavy cabinets. Pinning a floating floor can void warranties. Install cabinets first, then floor to the toe kick with a clean trim line. For nail‑down hardwood, putting floor down first under cabinets is fine and even preferred in some cases for continuous height, but it complicates future layout changes.
Countertops. Stone fabrication generates dust and requires heavy lifting. Do not schedule countertop install for the same day as flooring. It splits the crew’s attention and clogs access points.
Doors and trim. Changing floor thickness changes door clearances. If your new floor is taller, schedule door trimming at the end. If it is thinner and leaves a gap under doors, plan for new sweeps.
Plumbing and appliances. If a toilet sits on new tile or vinyl, replace the wax ring and inspect the flange height. For heavy appliances on soft LVP, consider glide pads or casters. Avoid rolling a 500‑pound fridge across fresh planks without protection.
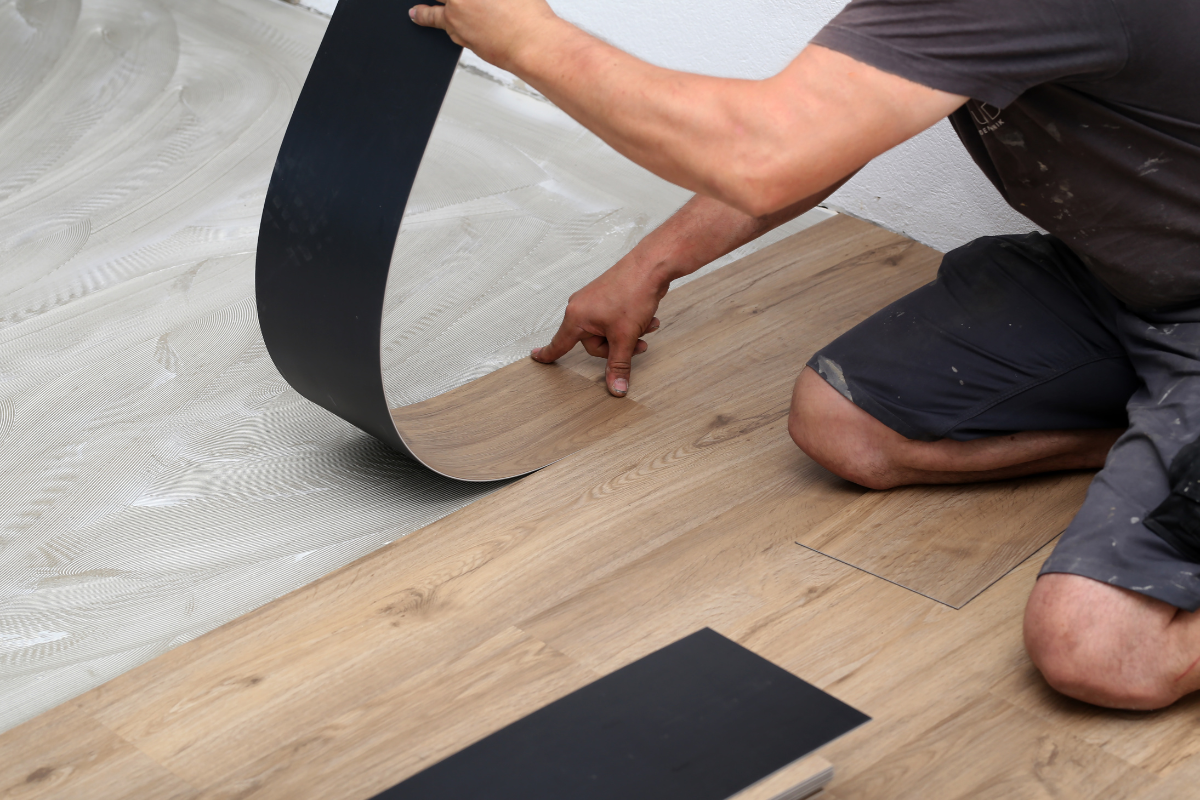
Understand acclimation, adhesives, and cure times
This is the unglamorous part, but it dictates your timeline and when you can put the room back together.
Acclimation. Engineered hardwood may need 24 to 72 hours in the room to acclimate to temperature and humidity. Solid hardwood needs longer, often 5 to 7 days, and should be within a narrow moisture content range relative to the subfloor. Vinyl plank generally requires less acclimation, but many manufacturers still specify at least 24 to 48 hours on site in unopened boxes. If your home swings from 40 percent humidity in winter to 65 percent in summer, consider a whole‑home humidifier or dehumidifier to stabilize levels. In a humid zone like Charlotte, keeping interior humidity roughly 40 to 55 percent helps prevent gapping or cupping.
Adhesives and leveling compounds. Some pressure‑sensitive adhesives allow foot traffic within a few hours, others need overnight. Self‑leveling underlayments might be walkable in 4 hours and ready for flooring in 12 to 16, depending on thickness and product. Ask your installer for the brand and data sheet. It influences your move‑back plan.
Finish cure. If your project involves site‑finished hardwood, oil‑based polyurethane can take 8 to 12 hours between coats and a few days before furniture returns. Waterborne finishes cure faster. Even when walkable, full hardness may take a week. Use felt pads and avoid area rugs for the first week to prevent imprinting.
Communicate the Day‑By‑Day Plan
Treat the installation like a short project. A simple schedule aligns everyone and reduces stress. A typical sequence for a two‑to‑three day luxury vinyl plank installation might look like this:
Day 1: Crew arrives, sets up cutting station, removes existing flooring, addresses minor subfloor issues, lays underlayment, and installs the first rooms. Transitions are measured. Doors are evaluated for trimming.
Day 2: Remaining rooms are installed, transitions and trims are set, baseboards or quarter round go in, and punch items are made. If adhesive is used, protect the area from heavy traffic.
Day 3 (if needed): Return for door trimming, final caulk and paint on trim, and walkthrough. Touch‑ups and additional sealing for tile grout if part of scope.
For nail‑down hardwood or tile, extend that timeline to account for subfloor preparation, layout, and cure times. If you are working with a flooring installation service in Charlotte during peak seasons, confirm crew availability for a potential third or fourth day. That buffer can be the difference between a tidy finish and a rushed handoff.
What to Do the Week Before Install
Use the week before to finish prep that only you can do, and to confirm logistics with your flooring company or contractor.
- Clear small items from rooms: books, lamps, decor, and clothing in low closets. Label boxes by room for quick return.
- Unplug and coil electronics. Photograph cable setups if you don’t want to relearn the entertainment system.
- Remove fragile items from adjacent spaces the crew will pass through. Stairway art is a common casualty.
- If any plumbing fixtures are being pulled, shutoff valves should be operable. Test them, and plan for new supply lines if they are old.
- Confirm delivery times, parking, and site access. If you have a security system, plan temporary codes for the crew.
This is also the time to buy furniture pads, new felt feet for chairs, and a few extra planks or tiles for future flooring repair. Keep a spare box in a closet, labeled with the brand, color, and lot number.
The Home Stretch: Day‑Before and Morning‑Of
The day before, do a final sweep. Floors do not need to be spotless, but removing gravel, pet hair, and large debris prevents scratches during demo and install. Set up a corner for valuables and essentials that will not be touched: keys, wallets, chargers, and medications.
On the morning of, walk the space with the lead installer. A five‑minute conversation catches details that can save an hour later. Confirm:
- Where to stage materials and tools, both indoors and out.
- Which bathrooms and sinks are available for the crew.
- The day’s target rooms and any must‑finish areas.
- Preferred communication style if you need to step out: text, phone, or a note.
Then step back. Resist the urge to hover. Check in periodically, look for issues, and keep cold water on hand. Good crews appreciate a client who is present and decisive without micromanaging.
What Quality Looks Like While It’s Happening
You do not need to police every seam, but certain cues tell you the job is going well.
Layout. Planks flooring company charlotte or tiles run parallel to the longest wall or to the line of sight in hallways, unless architectural features suggest otherwise. End joints are staggered appropriately, and skinny slivers at walls are avoided unless unavoidable.
Subfloor prep. The crew takes time to feather patch low areas and address high spots. They do not use the flooring to hide subfloor issues.
Transitions. The heights align cleanly across thresholds, with reducers where necessary. Stair nosings sit solidly with no flex.
Baseboards and trims. Nails are set and filled, caulk lines are clean, and paint touch‑ups are planned rather than ignored.
Dust and debris. Cut stations produce dust, but it should not be a constant haze inside. Reasonable cleanup as they go is a good sign.
If something looks off, ask early. An experienced flooring company would rather adjust a layout after the first few rows than after the entire room is done.
After the Crew Leaves: First Week Care and Warranty Basics
Your floor may look ready for a party, but give it a measured start. Slide furniture on moving blankets or hardboard rather than dragging it. Apply felt pads. Avoid rolling casters on fresh vinyl seams or over transitions. Keep a no‑shoes policy for a few days if adhesives were used. If your installer leaves care instructions, follow them. Many warranty claims get tripped by simple missteps in the first week.
Register your product if the manufacturer offers it. Keep all documentation: invoice, product spec sheets, acclimation notes if provided, and photos of lot numbers. For a flooring repair down the road, knowing the exact SKU and lot can save hours of hunting.
Watch humidity. In regions like Charlotte, quick summer storms can spike indoor humidity. Use the HVAC system and a dehumidifier if needed. Engineered wood is resilient, but consistent indoor conditions keep it stable.
If a board creaks or a plank edge lifts slightly, note it and contact your flooring company. Most installers will return for a punch list visit within a week or two. Small adjustments now prevent long‑term frustrations.
When Preparation Exposes Bigger Problems
Occasionally, prep uncovers something serious: high moisture wicking through a slab, soft spots in a bathroom subfloor, or evidence of termites along a base plate. Press pause. A rushed install over a compromised substrate rarely ends well. A reputable flooring contractor will explain options:
Remediation before install. Moisture mitigation systems, subfloor replacement, or joist reinforcement. These add time and cost, but they secure your investment.
Material change. If the environment is stubbornly damp, switching from solid hardwood to a more dimensionally stable engineered product or high‑quality vinyl plank can be the pragmatic move. In basements, tile or polished concrete might outperform any wood‑look material.
Scoped repair. In cases where only a small area is compromised, a targeted flooring repair with a threshold break at a doorway can localize the problem without derailing the whole project.
Ask for a written change order and a revised schedule. If you’re working with a flooring company in Charlotte, bring up region‑specific risks like crawlspace humidity, summer HVAC setbacks, and code requirements for bathroom underlayment. Local crews know the patterns and can recommend tested solutions.
Choosing the Right Partner Matters as Much as Prep
Not all teams are created equal. A seasoned flooring installation service brings predictable habits: they measure twice, show up with the right adhesives, and call out risks early. In growing markets, such as with a flooring company in Charlotte, capacity is high and crews are busy. You want the one that asks better questions during the estimate, not the one that simply offers the lowest line item.
Red flags include vague timelines, reluctance to discuss subfloor prep, and unwillingness to specify products. Green flags include clear moisture testing protocols, references to manufacturer data sheets, and a written plan for transitions and trims. If you have multiple floors to tackle, ask whether they can sequence the job to minimize disruption and whether they offer post‑install flooring repair services for accidental dings or settling issues.
A Short, Practical Checklist You Can Print
- Confirm written scope: rooms, trim, furniture moving, disposal, subfloor responsibilities, transitions.
- Verify materials: product SKUs, underlayment, trims, wastage, and lead times. Arrange acclimation.
- Inspect subfloor: moisture levels, flatness, squeaks, and any existing adhesive or deflection issues.
- Clear and protect: furniture staging, wall art removal, entry protection, dust containment, pet plan.
- Set logistics: power, water, outdoor cutting area, parking, HOA permissions, daily schedule, and contacts.
Tape this to the fridge a week before install. Cross items off as you go. It’s simple, and it works.
Final Thoughts From the Field
Preparation is not glamorous, but it carries a surprising return. The homeowner who spends a Saturday moving small items, checking shutoff valves, and staging a cutting area often buys back a full day of peace. The crew notices. Jobs with clear access and a thought‑through plan finish cleaner, with tighter trims and fewer compromises.
Whether you hire a boutique flooring company or a larger flooring installation service, the same fundamentals apply. In a busy market, like working with a flooring contractor Charlotte residents recommend, a little extra coordination around traffic, humidity, and HOA rules makes an outsized difference. If you need help beyond installation day, look for a team that offers responsive flooring repair, not just new installs. Keeping that relationship matters when life happens and a single plank needs replacing.
Your floors set the tone for how your home feels every day. Preparing well honors that investment. It turns an installation from a disruptive event into a swift, manageable project, and it leaves you with a surface that looks and performs the way it should for years.
PEDRETTY'S CERAMIC TILE AND FLOORING LLC
Address: 7819 Rolling Stone Ave, Charlotte, NC 28216
Phone: (601) 594-8616